Thursday, May 25, 2017

Pocket Letters

What is a pocket letter, exactly?  Before I take this any further, the creator of Pocket Letters was Janette Lane, and you can find where I got my information on pocket letters by clicking here to go to the Janette Lane Blog.

Most of you have probably heard about them by now.  Or perhaps you are still trying to figure them out...Or maybe you have even already tried making one; and either you liked it or you did not.  Lets say that hypothetically that you have made one and that you did not like making one if you have tried to.  And so if you did not enjoy making it, I can understand why, they are some one intimidating, and if you have received a beautiful bulky pocket letter that someone sent you and its chock full of goodies that you may or may not have and to boot has cost the sender a small fortune to mail it to you.

The very first one I made was described as above, and I did not make another pocket letter for a very long time after that for a few years in fact.  That is, until recently a good friend got me curious about them once again.  So I made a couple of more, one was too bulky and far too many goodies, and the other was not near good enough and not near as many goodies as they should have been.

Good grief, how do we come up with a happy medium?  Quite frankly in my opinion if the pocket letters are too big and bulky it becomes far too costly to send and that people who send them as such have missed the boat. (Pardon my expression)  Especially if you are sending over seas...a small fortune perhaps? Likely.  So I went to Janette's site and found this...

On her site, there is a brief explanation of what each pocket is for.  So I went ahead and made my own template for my own use which looks like this...


I have since changed a few things but I will explain what I have come up with for each section, pocket by pocket.

The very first step I make is I choose a colour or pattern of paper that you think your pocket letter pal might like, it can be a solid colour or a pattern of what you think it should be.  It could be a theme or not, So for example, if you know your pal loves to travel, you might want to make the front of the pocket letter using travel themed paper...but the beauty is that it can be whatever YOU want it to be, as ultimately it is YOUR choice because you are the one sending it.


For this pocket letter, which I just finished yesterday;  it looks like it could be for a theme.  But whether it is or it isn't doesn't matter., what matters is the rest of it which is in the back.


Pocket # 1 - is simply a "letter", it does not have to be long, it can be hand written or typed out, my penmanship is terrible, so I type mine, and I used a general form letter so I don't have to keep writing or typing out the same thing over and over. I don't send out that many pocket letters anyway and I change whatever I need to in the form letter as I go.  And I label the front of that pocket simply LETTER. You can put the label right on the paper in that pocket which is what I do or right on the outside of the plastic sleeve, I have done that too.  But by trial and error, I like it on the paper and inside the pocket.

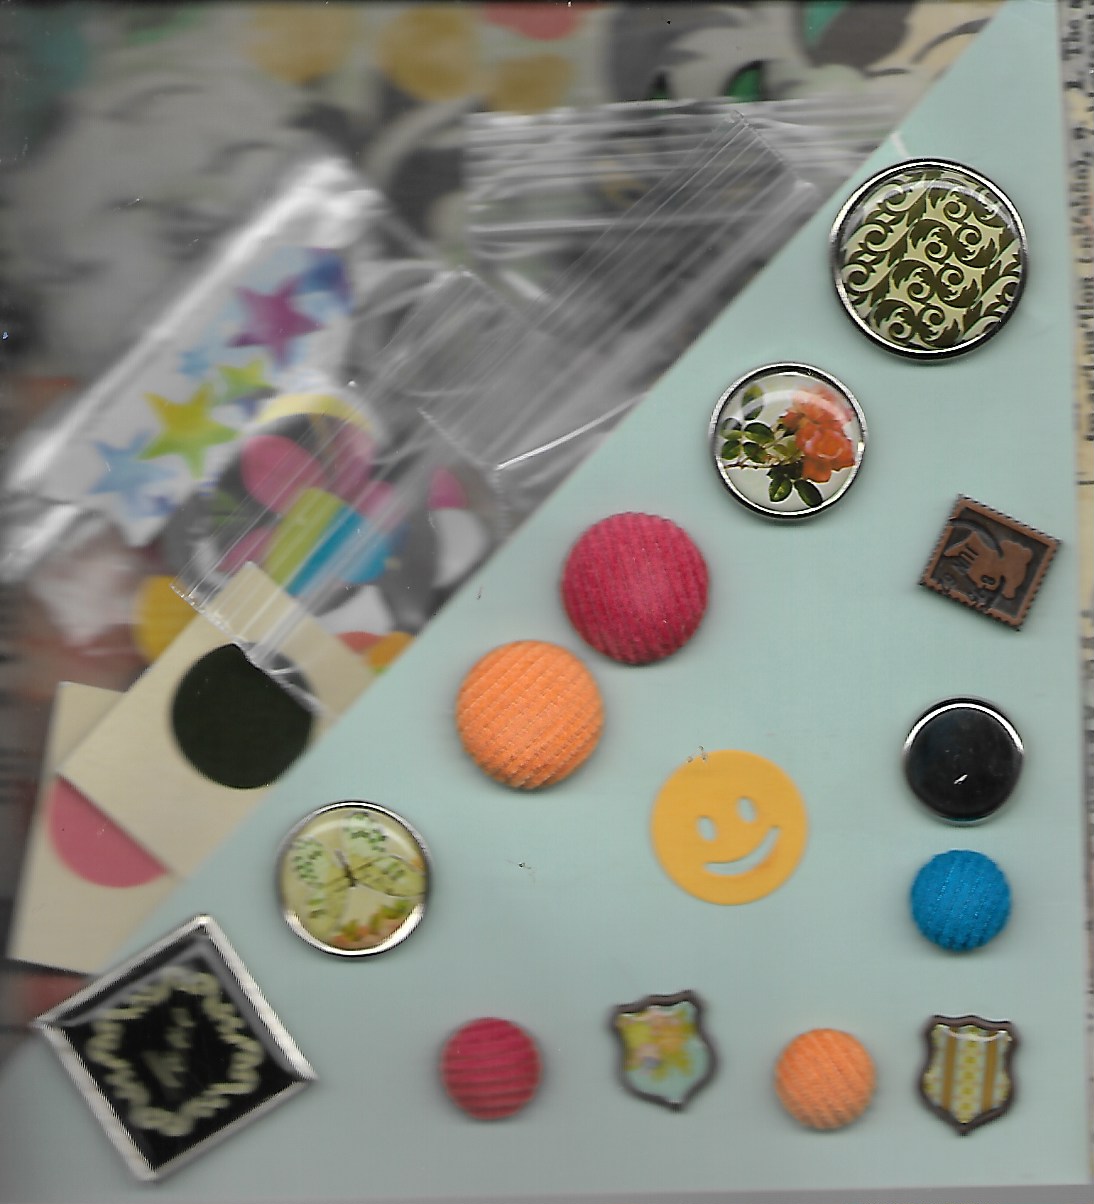
Pocket # 2 - Janette has this pocket labelled for ephemera (for pockets 2 & 3 is doesn't really matter which order these go in.   So I have # 2 labelled as "Stickers". If your pal is crafty and you know what things they collect or like, such as used postage stamps, or die cuts, you can put them here.  If your pal is non crafty and your not sure what they like you can put something useful in this pocket like decorative bandaids.

Pocket # 3 - Janette has this pocket labelled stickers, but I have it labelled as "ephemera."  Again, for these two pockets it doesn't matter which order they are in.  It just so happened that I mixed them up by mistake and didn't want to waste what I have done.  Other things that you can tuck in here might be single wet ones, or band aids (that is if you did not use them in Pocket # 2) perhaps an ATC made by you, a poem, a photograph, a keychain, mini notepad, flat makeup samples, coupons, etc.

Pocket # 4 - This pocket is a little bit more involved.  Janette suggests calling this pocket a "mail tag" and make the tag so that will fit in the pocket.  But I have decided to change this to About You in an attempt to keep it simple.  She also suggests to pick a few short questions to ask your pal.  So is what I have done to both the front and the back of the tag.


As you can see, its quite a simple design of a stamp, a sticker and a butterfly die cut on the front and on the back I have pre-typed the questions using font size 7 or 8, cut them out and glued them on the back.  I also used a couple of cute little stickers here to decorate it.

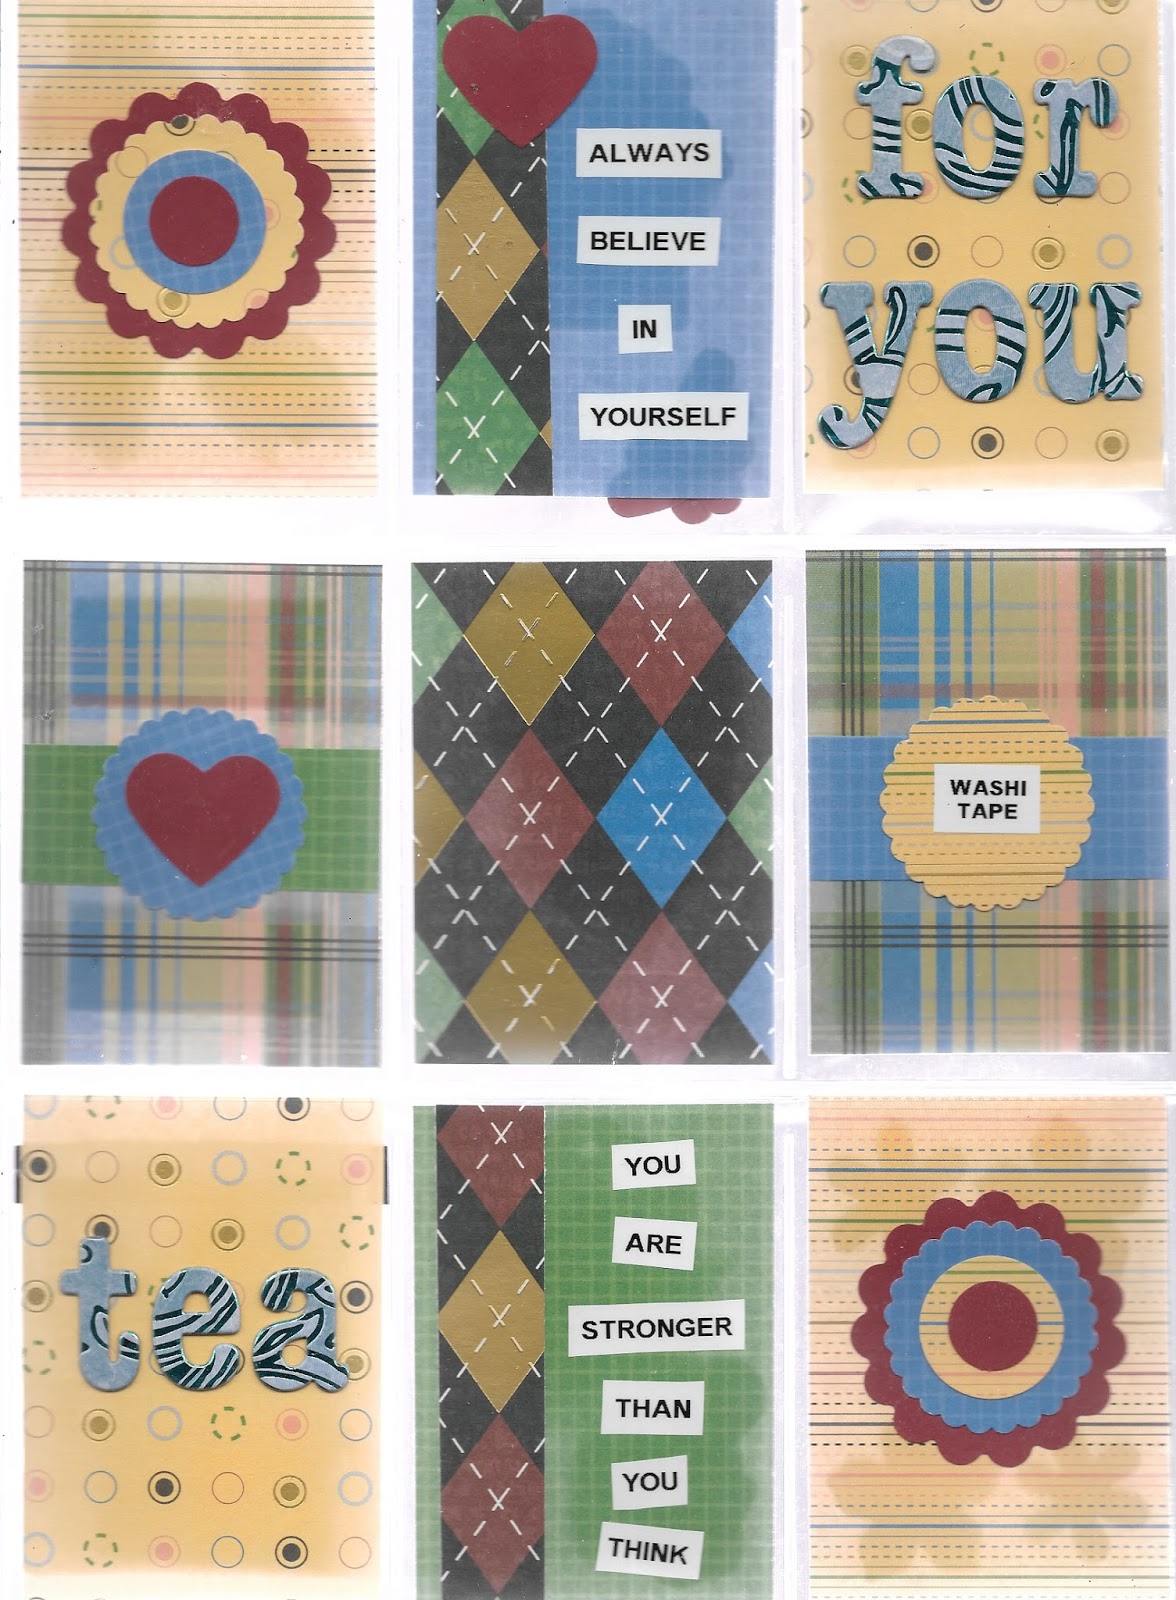
Pocket # 5 - This pocket is simple what I have done is googled popular 3 word "quotes" and chose 9.  Then I manipulated them in my open office to ensure that they were all 2.5 x 3.5 in size, and then cut them down to fit the pocket.  I only put one in per pocket so I have others for future use.  You can see the sample of this on the numbered photo above.  Its the centre pocket.

Pocket # 6 -  For this pocket what I have done is similar to what I did for the tag pocket.  Janette calls this one, "About Me".  So what I have changed here, is I simply answer the questions, that I ask my pal in pocket # 4 ...the about you...pocket. Why repeat anything that might be in your letter which is in pocket # 1.

Pocket # 7 - This pocket is called "Misc."  I suppose that miscellaneous is kind of the english word for "ephemera".  things that you can tuck in here might be single wet ones, or band aids (that is if you did not use them in Pocket # 2 or 3) perhaps an ATC made by you, a poem, a photograph, a keychain, mini notepad, flat makeup samples, coupons, cute sticky notes etc.

Pocket # 8 - I call this pocket, "What is a Pocket Letter?" For what Janette suggests here, I would think it would mainly be for people who do not know what a pocket letter is or have never received one or is not crafty.  She has a free printable here.  But what I have done is similar to the about you and about me pockets, I have pre copied and pasted onto one page in Word so that all I have to do it print on pretty paper, cut it down so it will fit the pocket. I have 8 left to use for future pocket letters.

Pocket # 9 - And finally the last pocket is saved for a flat pack of tea, or a flat pack of coffee sample.  I call this pocket, "coffee or tea on me" I am seriously considering getting a couple of Tim Horton gift cards with just enough money on them for one coffee or tea to keep the package as flat as possible.

So here you have it...my complete dissection of how to make a pocket letter so that they not only look great, but are quick and painless to create.

cheers

Dar


Saturday, May 6, 2017

Accountability List

Here is an update of my ever growing accountability list of stuff to do.

✔1)  Make a spring flip book for Bev Pisko over on Swap-Bot, which should actually get done today and in the mail tomorrow.  Its due May 5th and should have already been worked on. - CHECK!!!  Done and Mailed on May 3, 2017

2)  Finish Bonnie's pocket letter and mail the dies to her from Bev.

3)  Make 4 Mona Lisa ATC's for ATC Exchange Circle

4)  Make a pocket letter for Michelle Phillips on the Canadian Pocket Letter Group.

5)  Make a pocket letter for my Mom.

6)  Make a pocket letter for Laura. 

7)  Make a pocket letter for Aunt Linda.

8) Word die cuts for my partner in pre cut die cut swap group.

9) Get Pat's pocket letter ready to send.

10)  I have fallen so far behind on the Heart Art Project that I don't know if I will be able to get caught up.

11)  I also have a WHOLE WHACK of die cutting to do especially for my good friend Bev.

12)  Cat or Dog ATC.

13)  Cow or Horse ATC.

14)  Cut up all card board boxes down to ATC size to use for backings.

15)  Get back into water colour painting!  I love it so much but I have been getting artist block.

16)  Sorting all paper work we have into order by date for tax purposes.

17)  Update my profile on Swap-Bot

18)  Get caught up on Heart Art

19)  HALLOWEEN HOWL DUE AUGUST 31

20)  On going sorting and putting all ATCs into order by artist in binders.

21)   Collecting all of our contacts and info and writing them all down by hand and putting them into the roster manually...just in case if there is ever an information hiway crash...but for the real reason is that Google is messing around with our info believe it or not...

22)  Going through all of our photos and burning them on to dvd's

23)  On going sorting my craft stuff and keeping it reasonably tidy.  For example sorting whatever clear stamps I have that are not in binders and put them into binders.

24)  Being a better house keeper.

25)  Collect all the paper work necessary for an important meeting this week.

26)  Scan All of my available to trade ATCs to trade individually and put them in my files on Sharon's group, and the big group.

27)  Trade more on Sharon's group.

28)  On top of all of this I need to spend more time again on the lessons I am taking over at the learning hub.

29)  Over all being more creative especially on rainy days!  And making sure that I am completely all caught up on my promises!

30)  Exercising little by little everyday either doing the moving easy program, walking or jogging around the house, or playing fetch with Spencer.

31)  Clean Desk - always on going.

32)  Make home made embellishments

I am slowly plugging away at my list....I will get there sooner or later...never a dull moment.

Tuesday, May 2, 2017

Flip Books

My sister in art Bev and I have been chatting a lot recently about Flip books.  I've done a lot of different things in art but I have never made a flip book.  She sent me a few links to look at some ideas for what a flip book is.  Then I tried this video, not sure if it was one of her links or not.  So I tried it...and actually loved the challenge of making this one.  Here are the photo's of how they looked.


The photo of the page with the birds is the front of the book.  The photo of the page with the flowers is the back of the book.  The photo of the stacked envelopes are actually the inside of the book.


I was kind of disappointed that none of the pages lined up properly, but then this was my first ever attempt not only a flip book, but also binding one...which the below photo shows you how that looks.


Pretty impressive looking for my first home made bound book, right?  Well in the end, I decided not to use this one because I had absolutely NO CLUE how to decorate it or what to put in the envelopes. I will however try this one again sometime, but will decorate the envelopes before actually binding them into a book format.

Then I took out my friend, another sister in art, Carmen's flip book as I was her partner for the Flip Book Swap on Swap Bot, and basically just kind of followed her pattern for my partner Bev.  I really hope she likes it.  Here are the photos of what I came up with.


This was a lot of fun to make.  I thoroughly enjoyed it....I just hope that Bev will like it.

Aloha!

Dar


Sunday, April 30, 2017

WOW!!! Time Flies!!! (And Checklist)

Here it is...the end of April already!!!  


Its been a few very difficult months, but now that they are behind me it is my intention to do more crafting every single day!   Filling out the forms for ODSP was very emotional especially the part that you had to fill out how everything affects your life.  I had to write pages and pages of emotional stuff that I just want to forget about and move on with my life.

As far as being creative is concerned, I joined an ATC Artist Trading Group on Facebook, other wise known as "The Big Group"  Its actually too big for me, but I am hoping to find homes for as many as my older ATCs that I can.  But here are some jobs that I need to complete this summer or as soon as possible.

Here is the order of stuff I need to do...

✔1)  Make a spring flip book for Bev Pisko over on Swap-Bot, which should actually get done today and in the mail tomorrow.  Its due May 5th and should have already been worked on. - CHECK!!!  Done and Mailed on May 3, 2017

2)  Finish Bonnie's pocket letter and mail the dies to her from Bev.

3)  Mona Lisa ATC's for ATC Exchange Circle

4)  Make a pocket letter for Michelle on the Canadian Pocket Letter Group.

5)  Make a pocket letter for my Mom for Mothers Day

6)  Make a pocket letter for Laura Toll.  I have already hinted to her that I was going to send something to her "Aunt Laura " oops that was accidental intention because I was supposed to say Aunt Linda.  But it made Laura laugh so that was good....

7)  Make a pocket letter for Aunt Linda.

8) Word die cuts for my partner in pre cut die cut swap group.

9) Make a few corner book marks and put one in Pats Pocket Letter and mail it

10)  I have fallen so far behind on the Heart Art Project that I don't know if I will be able to get caught up.

11)  I also have a WHOLE WHACK of die cutting to do especially for my good friend Bev.

12)  On going Swap bot projects.

13)  On going big group projects.

14)  Cut up all card board boxes down to ATC size to use for backings.

15)  Get back into water colour painting!  I love it so much but I have been getting artist block.

16)  Sorting all paper work we have into order by date for tax purposes.

17)  Update my profile on Swap-Bot

18)  Get caught up on Heart Art

19)  HALLOWEEN HOWL DUE AUGUST 31

20)  On going sorting and putting all ATCs into order by artist in binders.

21)   Collecting all of our contacts and info and writing them all down by hand and putting them into the roster manually...just in case if there is ever an information hiway crash...but for the real reason is that Google is messing around with our info believe it or not...

22)  Going through all of our photos and burning them on to dvd's

23)  On going sorting my craft stuff and keeping it reasonably tidy.  For example sorting whatever clear stamps I have that are not in binders and put them into binders.

24)  Being a better house keeper.

25)  Collect all the paper work necessary for an important meeting this week.

26)  Scan All of my available to trade ATCs to trade individually and put them in my files on Sharon's group, and the big group.

27)  Trade more on Sharon's group.

28)  On top of all of this I need to spend more time again on the lessons I am taking over at the learning hub.

29)  Over all being more creative especially on rainy days!  And making sure that I am completely all caught up on my promises!

30)  Exercising little by little everyday either doing the moving easy program, walking or jogging around the house, or playing fetch with Spencer.

31)  Clean Desk

I MADE IT TO 30!!!!   CAN I GET TO 40???

Now that I have put everything that I want to do and need to do for all of the world to see makes me accountable for it all!

The reason I have not been being so creative is because I have been hit with a bad cold so bad that my glands are swollen to the point where I can not even hear properly.  If it stays like this,  I will have to consider a hearing aid to help.  I sure hope my ear clears up as I am already deaf in my right ear.  Its now been two full weeks that this nasty cold has been keeping me down.  But I am tired of it. Tomorrow I will be making an appointment to see my care provider as soon as possible.

So, I am going to quit writing and get creative....

cheerio!

Dar


Saturday, April 15, 2017

Artist Block

I am sure that everyone gets an Artist Block from time to time.  What is an artist's block?  Its like a writer's block, your brain just runs dry for any length of time.  According to a google search, this is what they say about an Artist Block. 

"Any creative person has a time when the ideas seem to run dry, and art inspiration becomes sorely lacking. It's a common dilemma that links all of the creative fields together, and plagues every artist. ... As an artist, I've come up with a solution to overcome my artist's block, and it never seems to fail "


I can always count on my good friend over at JaspersGems to come up with a cool project to work on.  She found a video that she challenged herself to do this weekend.  You can find it here at Shira Studio by Shira Manor.

This is really the first time that I made a master board using layering to create ATCs, and actually know that it is called a master board before the cutting stage. The video is short and sweet, and I had most of the products that she had. So, I told Bonnie that I would do it with her.  So here are the photos of the Artist Trading Cards I made.  They are totally not the same as Bonnie's, OR Shira's for that matter as we all of different stencils and stamps to embellish the master board with.


From these photos, you can see the gradual process if you have seen the video you can actually see it building to something.  


Here they are almost finished and dry.  I really love how they turned out!  But You won't even believe what happened to me...In all of my 8 years of crafting, I have NEVER, not even once spilled anything all over a project I have been working on....but the inevitable happened yesterday.  As I was messing with the best glue I have ever used in my life because it dries in no time at all...and its cheaper than Mod Podge.  Its called Gloss Podge Brilliant, by Demco.  If you do a google search you will find it...Anyway, I knocked over my bottle of glue and it went ALL over my project.  Luckily it didn't get anywhere else, and I am so happy I have been using newsprint on my desk again in front of my computer where I do my artsy stuff.  Boy oh boy I was not a happy camper...let me tell you...I managed to save most of it and was able to put it back into the bottle. But I did lose a lot, too much in my humble opinion...le sigh...


Regardless, it was quite a fun project and the best part is I actually made something from start to finish.  Thanks Bonnie, I really hope that this means my artist block is over.  

I have been keeping today with my badly neglected house work. My next step is to vacuum the house, my art cave definitely needs and also I need to clear up my art space, just so I can make a mess of it again.....

cheerio!

Wednesday, April 5, 2017

SPIROGRAPH


Who doesn't remember the infamous SPIROGRAPH???  I remember having one as a kid, do you?  Did you have one?  Were you successful in ever making it work the way they advertised it?

This is the one that I remember is a red box with a blue tray that came with all of the plastic shapes with tiny little holes in it.  It also came with 4 different coloured pens, some cardboard for the backing and pins to hold everything down.


I actually found one of these original ones somewhere, probably a yard sale. I made several attempts, but there are a bunch of things missing.  So I tucked it away at the time. I for one, could ever master it anyway, but then; back then, I don't think I was ever as art minded as I currently am now.

So, the reason this all came up more recently is because my good buddy Aubrey remembered me talking about Spirograph and he called me one day all excited and he said "you would not even believe what I found!!!"  And I was like, "what did you find?"  He said, "Spirograph at Michael's on sale for TEN BUCKS!" LOL!!!  He was absolutely adorable about it.  This is the one he bought for me.

He said he actually bought two....silly boy, I said why?  And his response was that he wanted one too!  lol And that they were such a great price he could not resist.  Anyway, this was such a while ago, last summer, I think.  We actually finally got to see him on the weekend, and he brought it to me...What a sweet heart!  I asked him if he played with his yet, and his reply was that he was waiting for me to play with it first...lol...so, here you go Aubrey, this is my first attempt!

It sure looks like a kindergarten drawing, doesn't it?  Anyway, I am having trouble keeping the rings down hard on the surface I am creating on, and so the wheels keep skipping.  The pins never truly worked for me either.

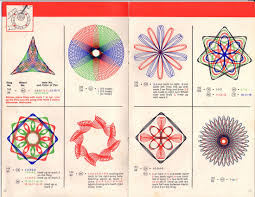
But don't worry, I want to be able to make amazing designs like this...

and this...


and this...


So I won't be giving up anytime soon.  I will be trying the pins again maybe tomorrow!

In the mean time, if anyone has any ideas for a good solution on how to keep this sturdy, I am ALL EARS!

Tuesday, March 21, 2017

Painting My Heart Out

I have been participating in a Chronic Pain Clinic for 3 weeks or so now.  Each week we have to promise an Action Plan.  Which is basically something we want to do, and something that is do-able and then we have to give ourselves a rating as to how confident we think we are going to be able to do it.  My action plan this week was to paint 4 water colour paintings.  Well I did not give myself enough credit for this week, as, I only gave myself a confidence level of 7 out of 10 that I would complete it.  I am happy to announce that I completed it.  

When I painted the meadow, I actually dropped my brush on it, lucky for me, it landed right smack where the fence was going.  lol, so I was able to save it.  My favourite of these 4, is the sunset...or sunrise, whichever way you want to look at it.


So I have been painting my heart out this week!   Here is one I did last week.  I LOVE how it turned out, except for the shrubs...I will have to work on those a little.


I am really enjoying water colour painting!  I wish I could do it by memory and not have to look at a photo, but I suppose there is nothing wrong with doing that. It totally relaxes me, especially when I can play some relaxing meditative music in the background.  There are 2 amazing points about this medium, one is that they last a long time, and when a tube is empty there is nothing to refill, just go out and buy a new one....and two, there is very minimal clean up.  LOVE IT! Looking forward to another day of painting tomorrow.

Ciao


Saturday, March 18, 2017

More Happy Mail

Its time to share some more Happy Mail...As you all know I LOVE LOVE LOVE happy mail whether it be art, a post card from afar, or just to be plain thought of for no reason at all.  I have talked about this before, and if any of you know me well enough, Happy Mail is one of my most favourite things of all time, and rates right up there with Halloween and Rainbows.  Here are some things that I got in the mail this week.  I think I have the coolest extended art family ever!

The first one I would like to share is a lovely ATC with a pocket sent to me by my pal Bonnie over at JaspersGems.


Its absolutely adorable and very well made!  I am the one who introduced her to the wonderful world of ATCs and for a long time, I tried to talk her into it and finally she gave in and loves it.  It has been fun to watch her grow in this fun past time.  This background is absolutely gorgeous.  I am not sure how she did this one but its beautiful.  


The bird is on a tag which comes out and there is an awesome quote on the back of the tag.


This quote is so absolutely true!!!!   Who doesn't love chocolate?  lol

The next thing I got in the mail this week was a post card from my friend Laura, who is all the way over in England...Lucky girl she has been getting to travel every where there and see sights that I can only dream of getting to see. 


Love these Seals, they are so adorable!  We got to see some Sea Lions when we were on one of our trips.  Oh how I miss travelling.  Maybe some day again!

Another great piece of art comes yet again from my dear friend Bonnie.  Its a pocket letter, another thing that I introduced her to and she had no interest or desire at the time but has finally gotten around to it.


Hahahahaha...Just teasing Bonnie...any way here is the front of my pocket letter from her.  She said she made two at the same time but mine got done first, so yaaay I got the first pocket letter she ever made...whoo hoooo 


As usual, it is very well done!  The colours are all coordinated, and lots of fun elements.  Here is the back of her pocket letter, packed with lots of yummy goodies!


Well done Bonnie, you never cease to amaze me and I LOVE it when you tell me that your making something that you once told me that you will never do it.  lol your just too cute sometimes!   You realize I am waiting now for you to do a rolodex?  Right?  lol, they are just as fun and addictive as making an ATC and Pocket letters!

The very next and final happy mail that I got this week is from my dear friend and mentor Nat over at SimplySweetStamping.  She always out does herself, she sent me a St. Patrick's Day package along with my children stories ATC.  and OMG they are both just too sweet and adorable!!!!


Her work is always so intimately detailed and when you watch her teach, or watch her make something, her heart is 150% into it.  Nat your artwork always makes my heart smile, and I am very lucky to have you as a friend, too!  When I was little, that monkey story was one of my favourites, how could you have possibly known???

I am so lucky that she also included the following goodies in my envelope. Thank you so very much,  I absolutely love everything that you sent!  The small stickers, the bigger stickers, and all of the lovely shamrocks.  LOL, that was so much fun, because when I opened the package they all almost fell out all over the place and I was in the car.  I could not wait to get home and open it.  lol silly me, eh?  The cook book, looking forward to hearing the story on that and lastly the stamp and die set...omgosh...you silly girl, thank you thank you thank you!!!


Well that is about it for today.  I have a million other things I would like to accomplish and would like to get to at least 4 of them today....big hugs to all

cheerio